CI/CD Basic Tutorial With Codeship for DevOps Beginners
Once you know the fundamentals of CI/CD, it’s all the same in other platforms like Circle CI, Codefresh, TeamCity, etc.
So without further ado, let’s get started.
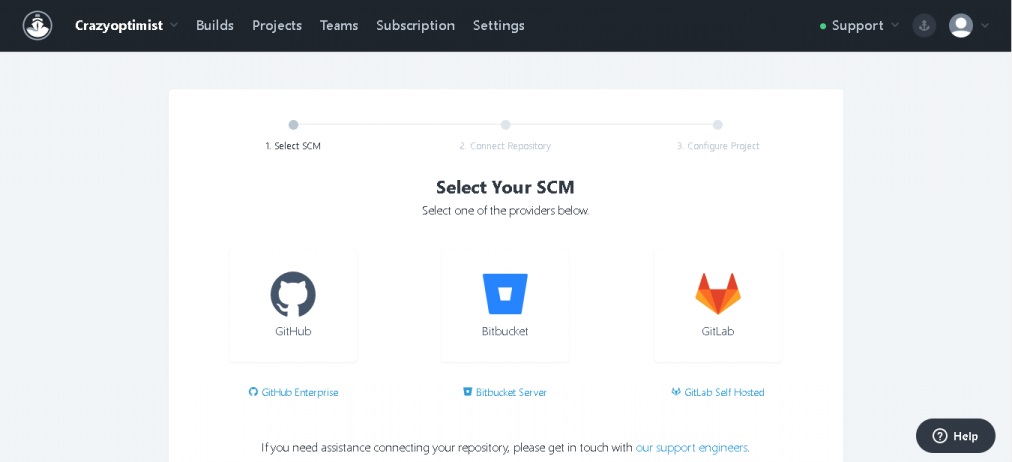
First off, connect your VCS such as github, gitlab or bitbucket to the Codeship.
Once connected, select the project source repository and go to project -> project settings at the upper right corner of your project dashboard.
Leave the test tab as it is, and hit Save and go back to dashboard then select the exact source branch(simply, the master branch for production deployment).
Select custom script deployment.
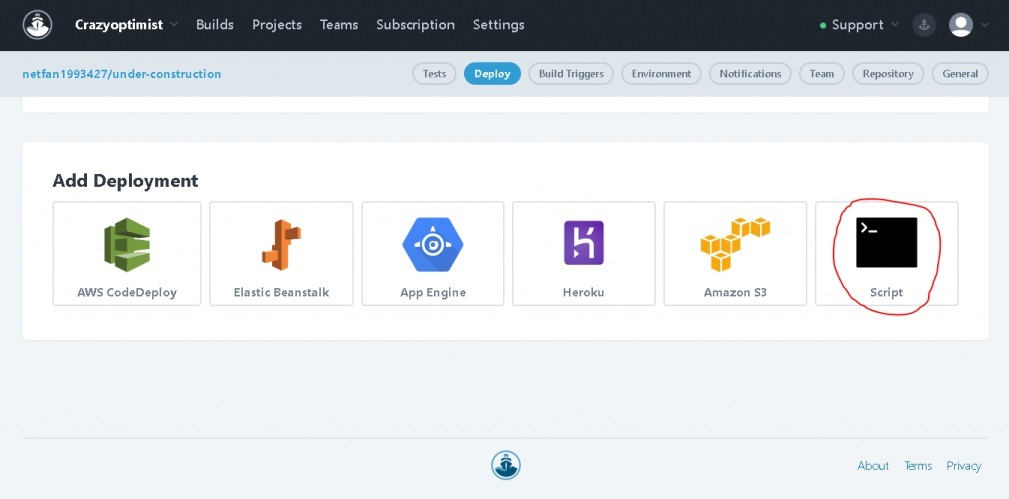
Write down your shell script and use your magic to control the deployment server from the codeship project docker instance.
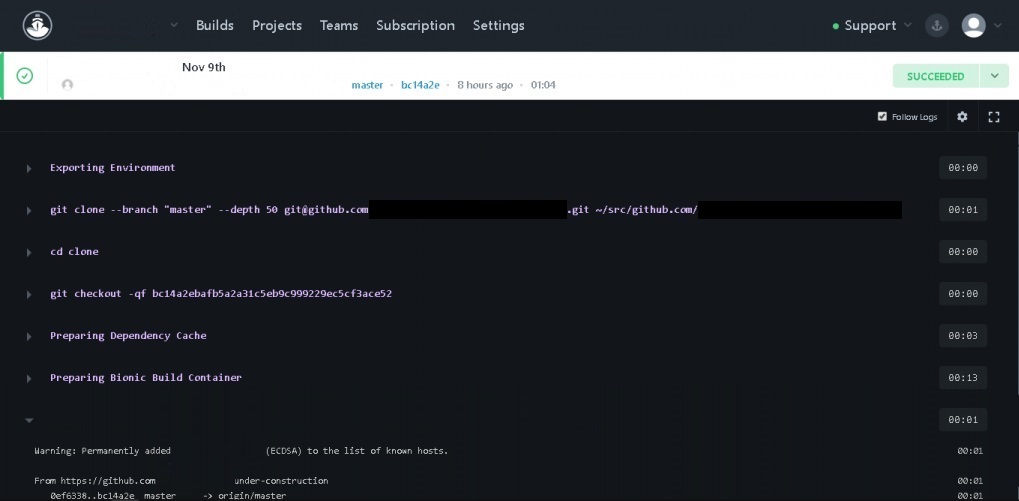
For example, login to the server and go to the destination site root directory and pull git repo or you can just copy whole files from the instance to the server directly using FTP or you can do anything you want.
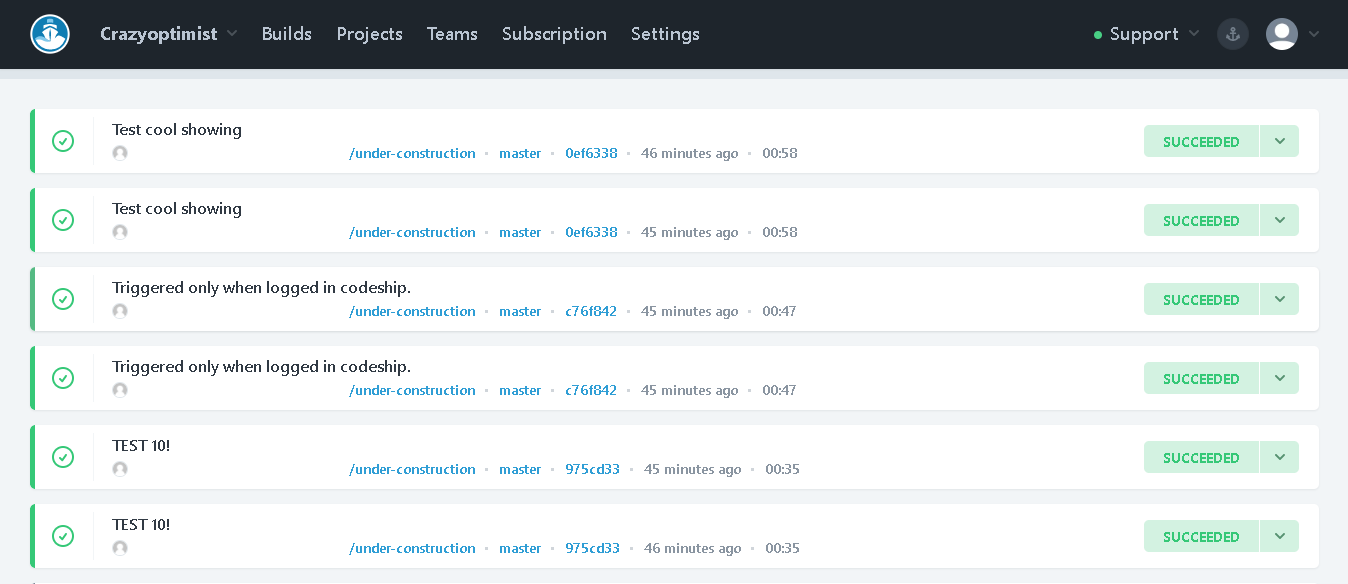
After that, you can test your auto deployment by pushing some commits from your local dev env to the repo.
In case you get stuck in a build failure, you will have to go through some debugging.
Then you can autologin to the instance and debug your shell scripts or something like that …🙂
Codeship UI/workflows might be subject to changes in the future, but you should get the bare minimum principle of how CI/CD works.
Thanks for reading!